


Raise a support ticket
If a company you deal with uses Tickiti for their customer support, they will normally publish a public support page where you can raise a ticket without needing an account. You are most likely reading this because you followed the help link on that page — if not, open the address the company has shared with you (typically on their website or in an email) to get started.
The screenshots below use Sole Provider Sales, an example running-shoe retailer. The page your supplier uses will look similar, with their own name and logo.
1. The support page
In this example it lives at https://support.sole-provider.example/support:
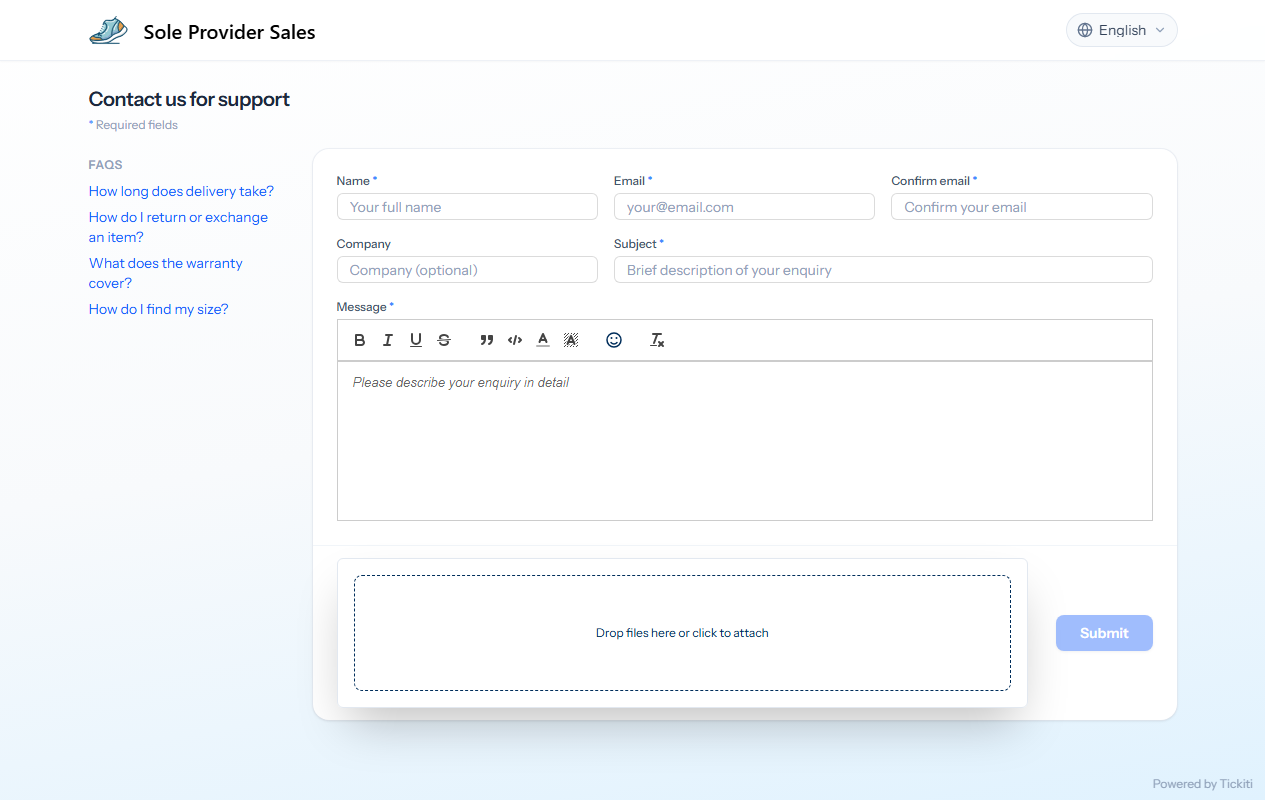
Many support pages list frequently asked questions on the left. Click a question to read its answer — your question may already be answered there. Otherwise, head to the form on the right.
2. Fill in the form
Required fields are marked with a small blue asterisk:
- Name — your full name. The support team will use this to address you in their reply.
- Email and Confirm email — the address the support team should use to contact you. All updates are sent here, so type carefully.
- Company (optional) — your business or club name, if relevant. Helpful for trade or club orders.
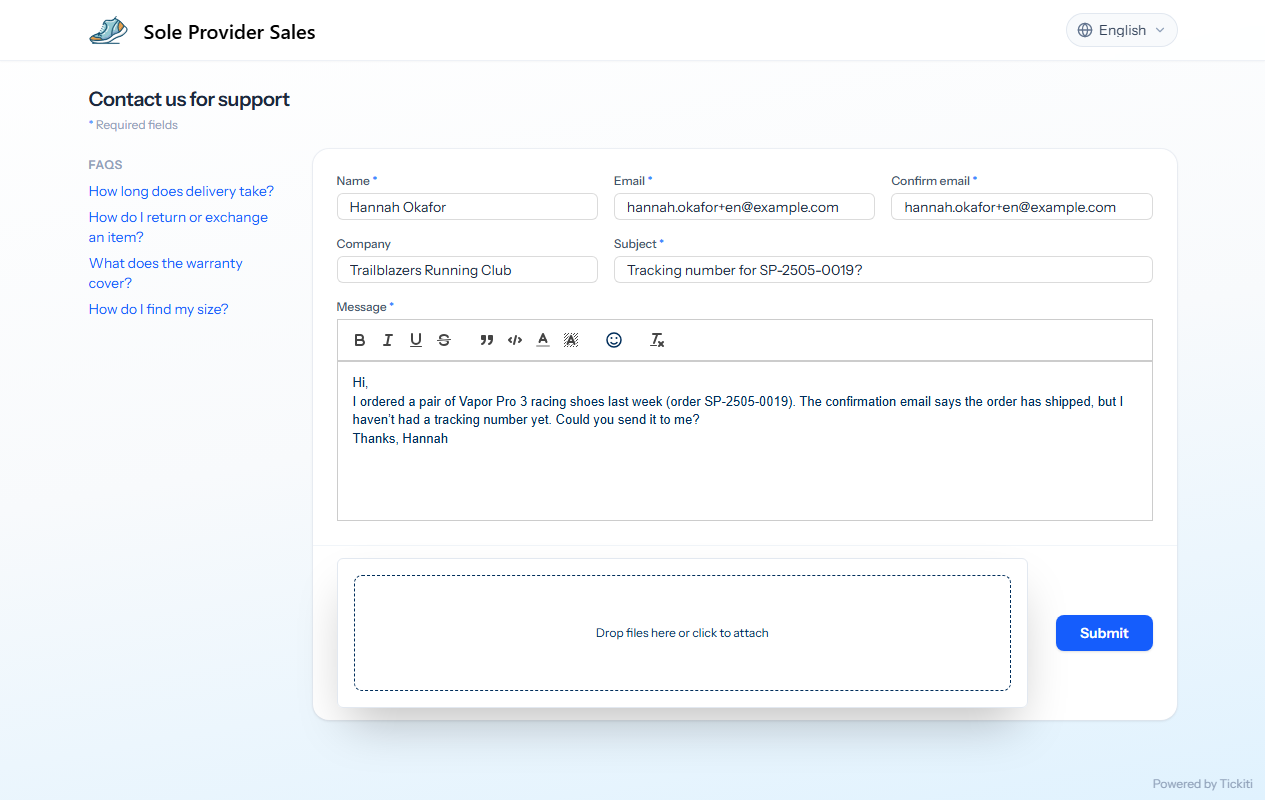
- Subject — a short description, e.g. “Tracking number for SP-2505-0019?”.
- Message — the details of your enquiry. Include order numbers, dates and anything else the support team needs to help you. The editor toolbar lets you format text if it helps you describe the situation.
A complete enquiry might look like this:
3. Add attachments (optional)
If a photo or document would help, drop one or more files into the dashed Drop files here or click to attach area at the bottom of the form. There is a separate article on Attachments covering allowed file types and size limits.
4. Submit
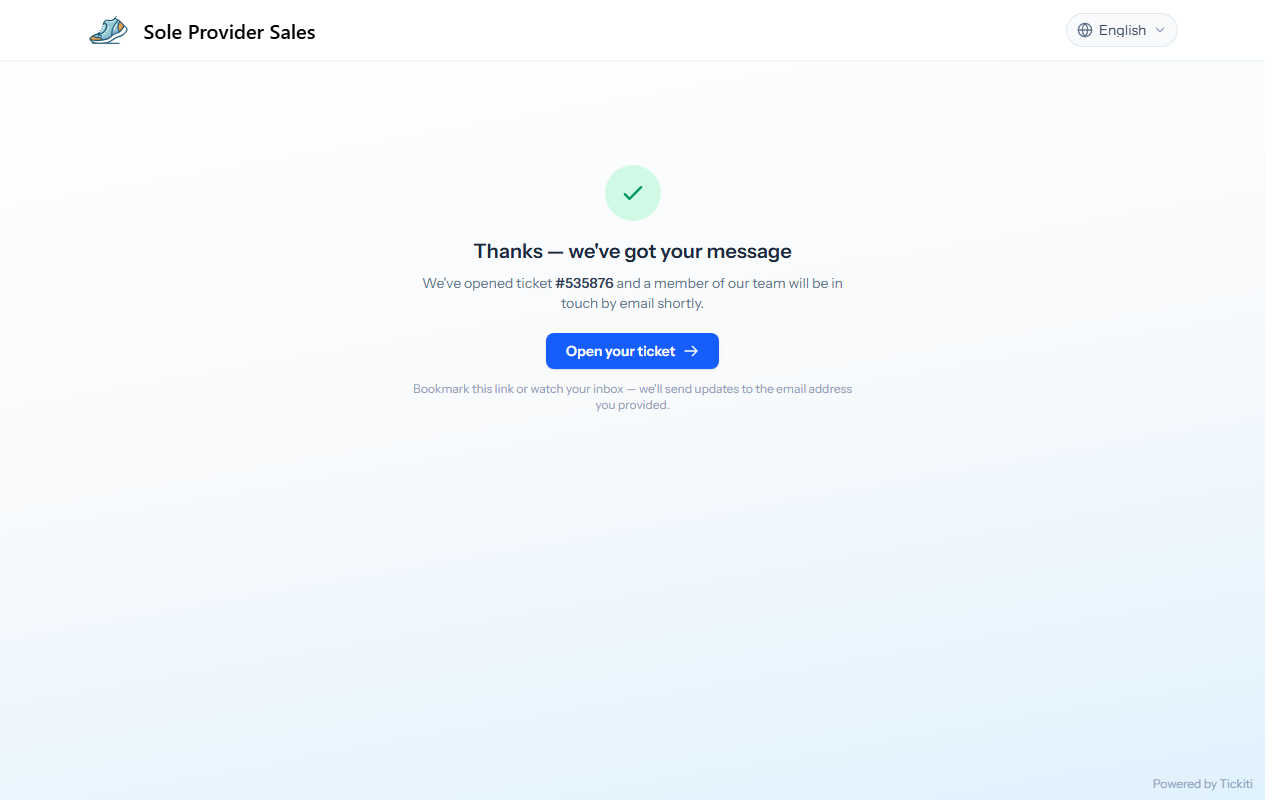
Press Submit. The page changes to a confirmation with your ticket number:
Two things happen at this point:
- An email lands in the inbox you supplied, confirming the ticket. It contains a direct link to your ticket — bookmark it or keep the email if you would like to come back to the ticket later.
- The support team is notified and starts work. Response times depend on the team’s coverage and the urgency of your request.
Choosing your language
The support page opens in your browser’s language when the supplier offers it. To change it, use the language menu in the top-right corner of the page. Your choice is remembered on that device, and the emails about your ticket are written in the same language.
What about getting an account?
You do not need one to raise a ticket. If you would like to see all your tickets in one place — useful if you have raised several — you can register an account afterwards. See Tracking your tickets.