Checklists
A checklist breaks the work on a ticket or task into steps that can be ticked off. It is for staff only: customers never see it.
Adding a checklist
Open the ticket and click the checklist button in the ticket header, then type the first item and press Enter. Keep typing to add more.
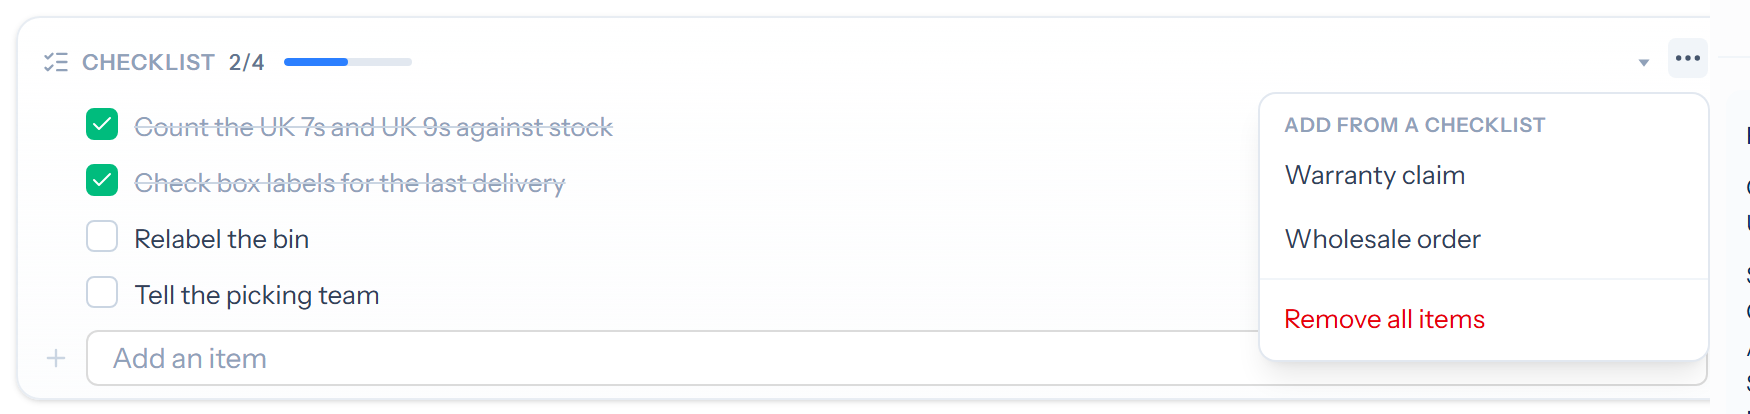
To add a ready-made list, click the … menu on the card and choose one under Add from a checklist. Its items are added to whatever is already there. Administrators maintain these lists: see Checklist templates.
Working through it
- Tick the box to mark an item done. Hover over a ticked item to see who did it and when.
- Click an item’s text to change it.
- Drag an item by the handle on its left to move it.
- Hover over an item and click the x, then Confirm, to remove it. Remove all items in the menu clears the whole list.
Ticking items is not recorded in the ticket’s history, so a long list does not fill the conversation with audit lines.
Progress in the ticket list
A ticket with a checklist shows its progress, such as 2/4, in the ticket browser. The count turns green when every item is done.